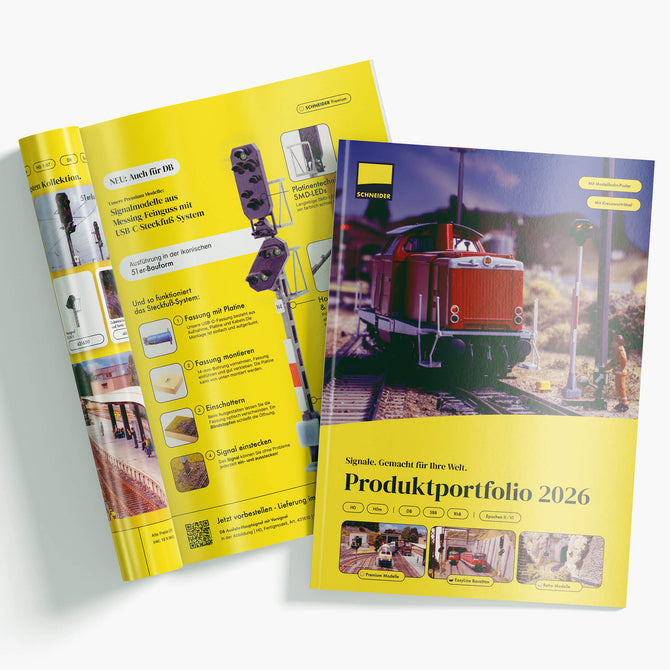
RhB 2024/25
Our new collection of RhB signals in H0 scale: Technologically completely renewed. The precise handwork remains the same. Do you need a few arguments for it? To name just a few: Powder-coated cast brass, circuit board technology, SMD LEDs, Schneider plug-in foot system.


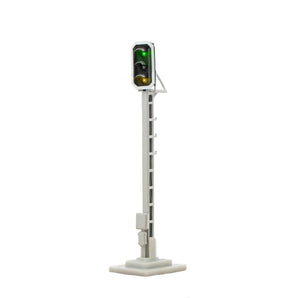


PCB technology with SMD LEDs
Our modern LEDs produce a uniform and true-to-color light image. And when switched off, no colors are visible. Just like the original.

Our narrowest signals
The slim signal sign is also very attractive from behind. We route all cables into the ground inside the mast so they are barely visible.

Powder-coated cast brass
The signal mast with bracket and the sign including sun visors and handles are cast from brass and then powder-coated. This creates a signal that fits perfectly in the hand: shockproof, abrasion-resistant and durable.
For young and old - for a lifetime.

Precision down to the smallest detail
Filigree details such as the handles on the sign, fine steps on the mast or the true-to-original electrical box.
plug-in foot system with USB-C
An absolute innovation: Mount the socket once from above the system, plug and unplug the signal as often as required: for maintenance, cleaning, transport or replacement.
Installation is so easy:

1) Drill hole
Simply drill a hole with the Forstner drill and chamfer the top edge for easier assembly.

2) Install the socket
The socket is inserted from above, including the circuit board and connecting cable. If necessary, drive track nails through the four holes in the base.

3) Ballast
Cover the base with gravel so that it is no longer visible - this will make it as close to the original as possible.

4) Plug in the signal
Now you can clip the signal in and out as often as you like using the plug-in foot - without gluing, screwing or nailing.
You might also like:
No station can get by with just one signal. Not even the Rhaetian Railway ;)


